Bathrooms built to keep water out of your walls.
A bad shower install causes mold and rot. We do every step the long way — and we have the inspection records to prove it.
Of every project type we do, bathrooms are the highest-stakes. Water intrusion behind a tile wall causes mold, structural rot, and costly remediation. The way you prevent that isn’t about being talented — it’s about being disciplined. Following the steps. Not skipping the membrane. Not rushing the flood test.
Marvel-Works treats every bathroom — even a powder room — like a high-liability project. We over-build. We document. We test before we tile.
What we build
- Standard tubs and showers — the everyday remodel, done right
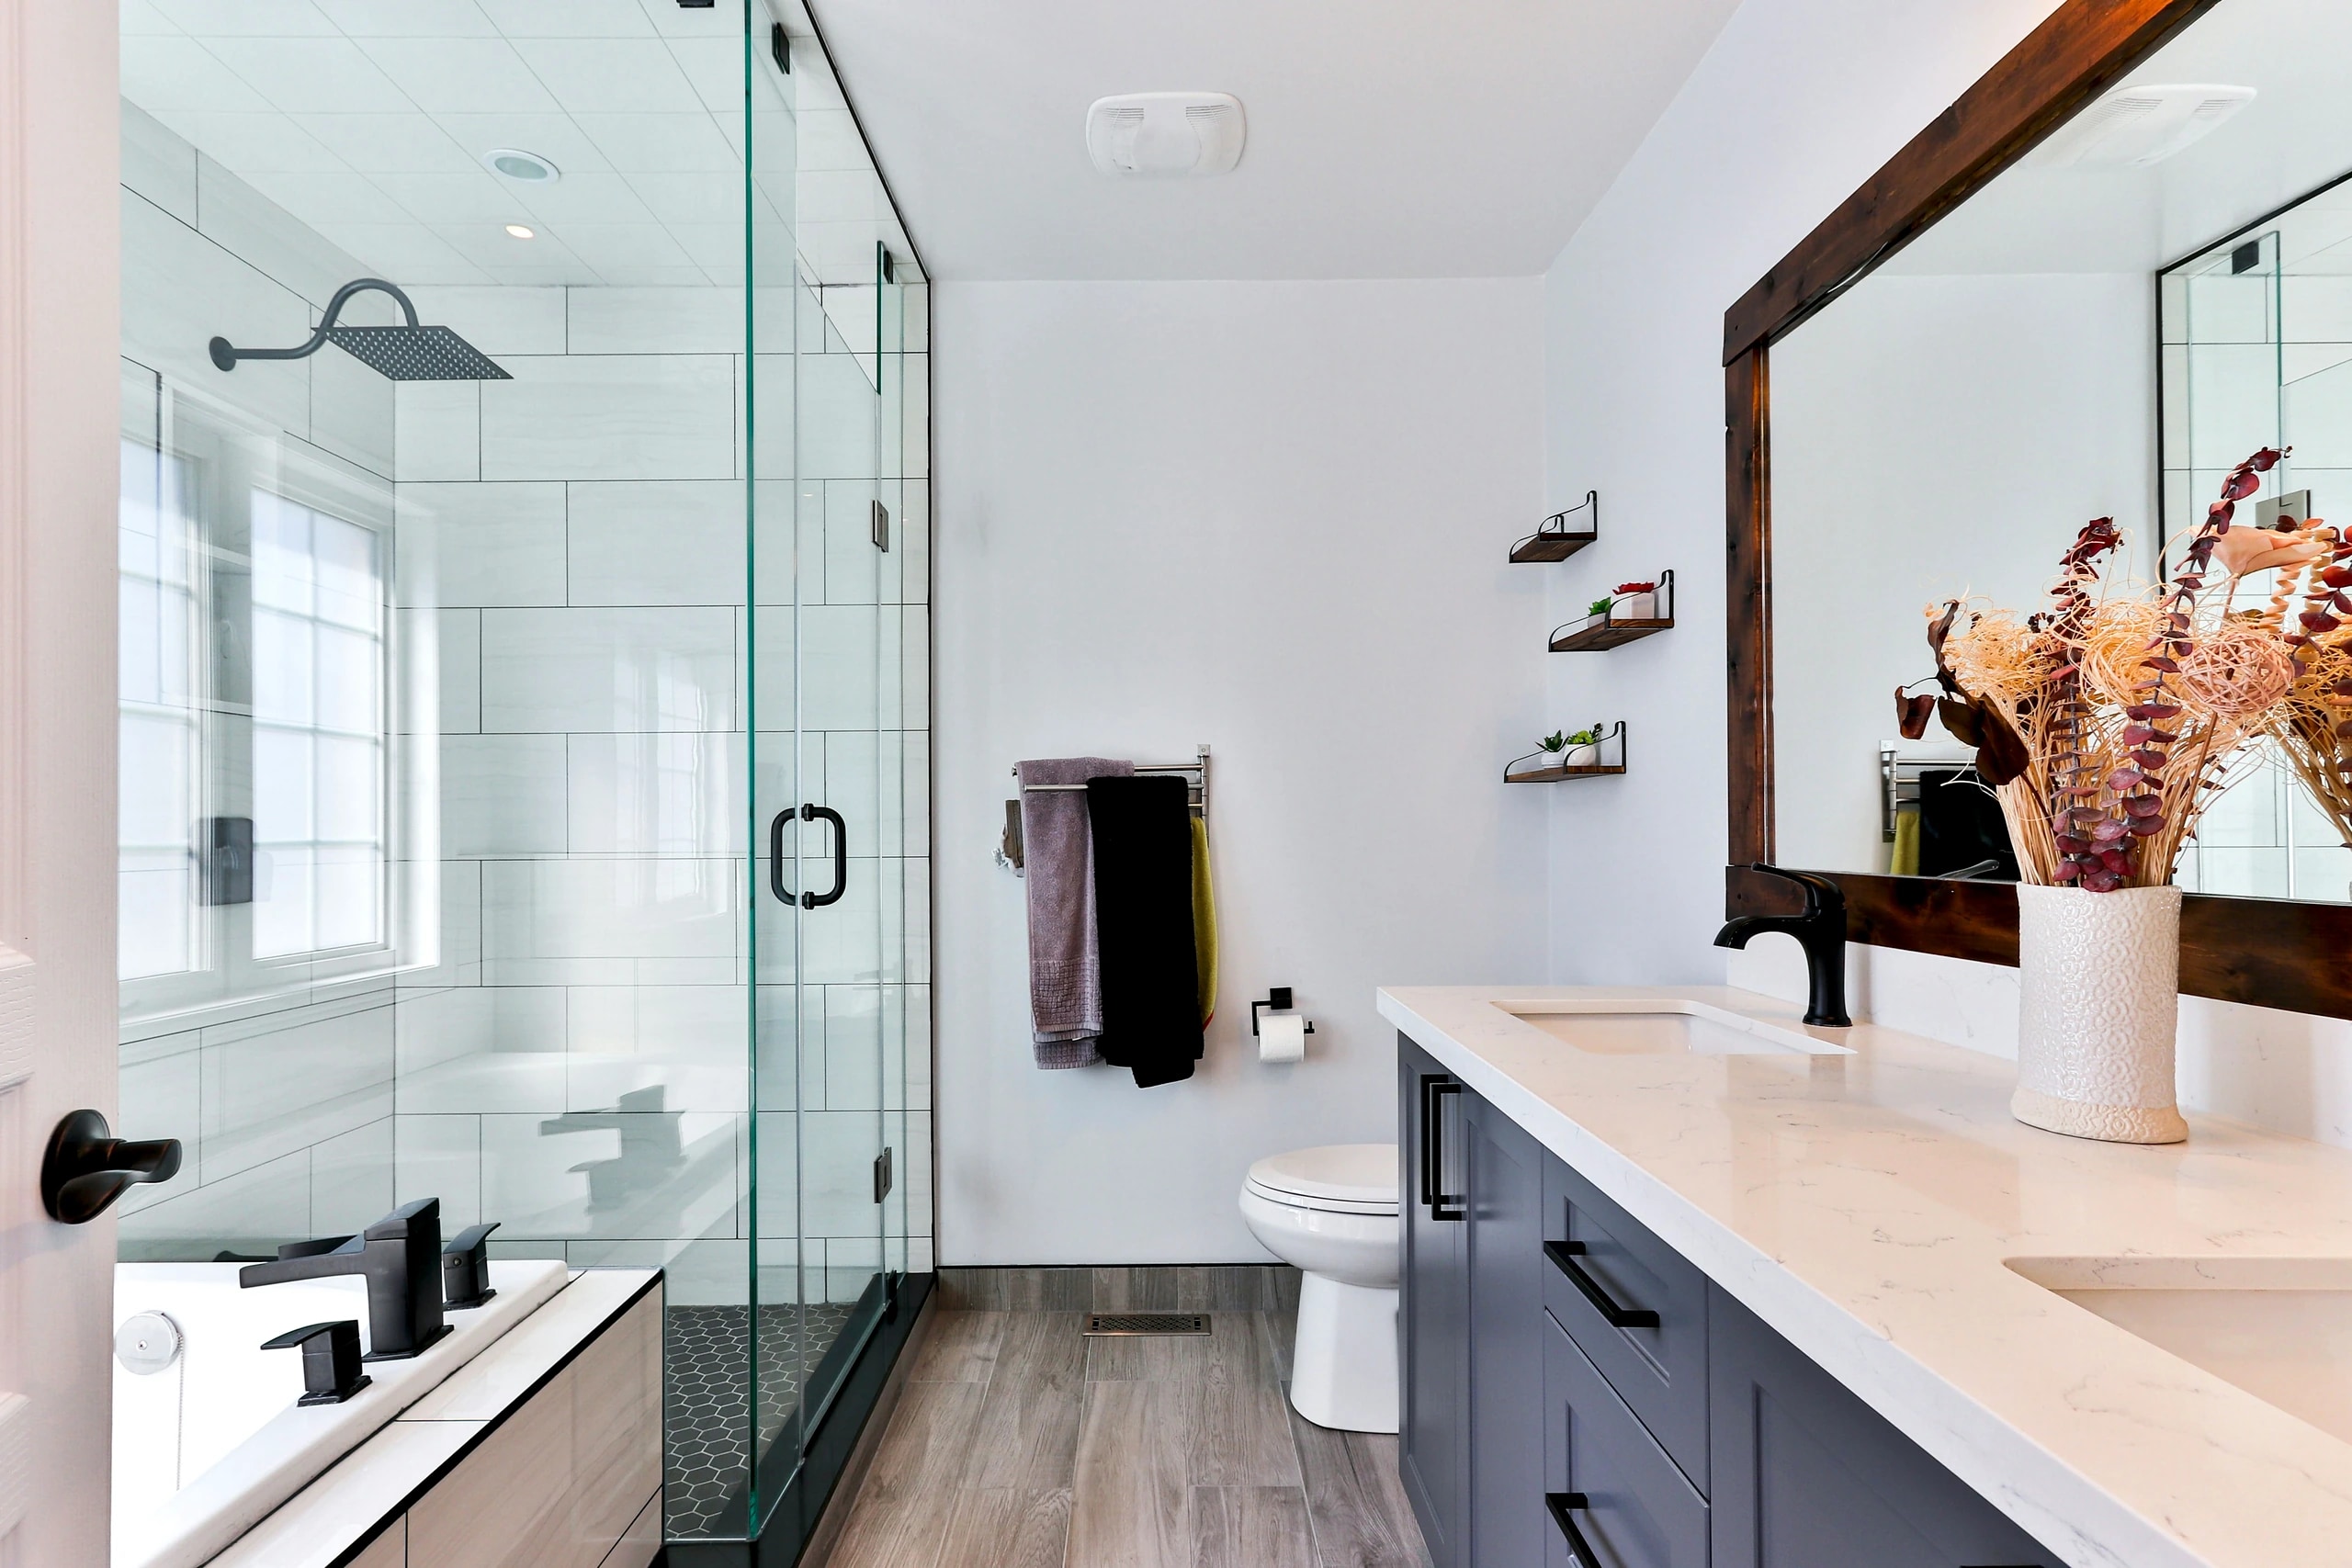
- Walk-in showers with curbs — frameless glass, custom tile, niches
- Wetrooms (curbless showers) — the entire bathroom is the shower; floor sloped to a linear drain; everything waterproofed
- Steam rooms — full vapor-proof envelope, sloped ceiling, dedicated electrical, sealed drain — the most technically demanding tile project we do
- Vanities — custom or installed from your selection, with countertop coordination
- Plumbing relocation — drain moves, fixture upgrades, water supply runs
Process
- 1
On-site visit & scope
We walk the space, talk through what's working and what isn't, take measurements, and give you a written scope and budget range. - 2
Demo
Old tub or shower out, walls and floor opened up. We document any hidden damage (rot, mold, old galvanized pipe) and show you photos before we close anything back up. - 3
Plumbing & electrical rough-in
Drains relocated if needed, supply lines run, electrical for lighting, fans, and (for steam rooms) generator circuits. - 4
Substrate & framing
Backer board installed, blocking added wherever fixtures will mount, niches framed to spec. - 5
Waterproofing — the most important step
This is where most failures happen on bathrooms. We don't take shortcuts here. (Details below.) - 6
Tile
Tile leveling clips on every install. Pattern planned in advance to avoid slivers at walls. - 7
Grout, seal, set fixtures
Grout packed and sealed where the spec calls for it. Plumbing fixtures installed. Glass enclosures measured and ordered. - 8
Walk-through
You sign off, not us.
Timeline & Investment
- Standard bathroom remodel3 to 5 weeks$12,000 to $35,000
- High-end / wetroom / multi-vanity master5 to 8 weeks$30,000 to $70,000
- Steam room (add-on)+1 to 2 weeks+$8,000 to $15,000Adds to a master bath project — not standalone.
For the technical homeowner
Every homeowner with construction experience asks how we waterproof. The answer is: yes, we do all of these steps, on every job, and we can prove it.
How we waterproof a shower, in detail
Wall substrate
- Cement board over studs, fastened at 8″ on center with corrosion-resistant screws
- 1/8″ gap left between boards and at every change of plane
- All seams taped with alkali-resistant mesh tape
Liquid waterproofing membrane
- Two-coat application of an industrial liquid waterproofing membrane (we use one approved product company-wide, not whatever the sub has on the truck)
- Minimum dry film thickness verified by color change — if any pink shows through, an additional coat goes on
- Applied to all wall surfaces in the wet zone, full height
Shower pan (traditional method)
- Pre-slope poured first using fast-setting concrete at 1/4″ per foot toward drain
- PVC liner installed over the pre-slope, sealed with solvent-welded dam corners
- 12-hour flood test on every shower pan — we fill with water, mark the level, photograph at fill and at the 12-hour mark; any water-level drop means we find the leak and re-test
- Top pour of self-leveling concrete or hand-packed deck mud, slope verified before tile
Niches
- Framed with full blocking, fully cement-boarded, and waterproofed on every interior surface (sides, back, top, bottom, edges) with a two-coat membrane application
- Niche bottom sloped slightly outward so water drains rather than pooling
Wetrooms (curbless showers)
- Linear drain (not center drain) for single-direction floor slope
- Entire room — floor and walls to minimum 6′ height, full height with ceiling-mount showerheads — fully waterproofed
- All seams between floor and wall boards taped with alkali-resistant mesh and sealed
- All penetrations (drain, plumbing, fixtures) sealed with the membrane or the drain manufacturer’s bonding flange
Steam rooms
- Full vapor-proof envelope using a sheet-membrane system over cement board on all surfaces (walls, ceiling, floor, bench, niche)
- Ceiling sloped at 1/4″ per foot toward a wall (not the drain) to prevent cold condensate from dripping on you
- Dedicated 240V circuit, 10 GA wire minimum, GFCI/Arc-Fault breaker, panel capacity verified before any work begins
- Vapor lines from generator to steam head are soldered copper only (no PEX, no compression fittings)
- Drain lines are Schedule 80 PVC (Schedule 40 isn’t rated for sustained steam-room temperatures)
- Multi-trade coordination meeting required between PM, electrician, plumber, and tile installer before any steam-room work begins
Tile installation standard
- Industrial polymer-modified thinset, mixed per manufacturer spec, used within stated pot life
- Tile leveling clips and wedges on every job (yes, including shower walls)
- Lippage tolerance 1/32″ (1/16″ max for large format)
- 85%+ mortar coverage on the back of every tile, verified by spot-check
Frequently asked questions
How long does a bathroom remodel take?
How much does a bathroom remodel cost in Houston?
How do you waterproof a shower?
What is a wetroom?
Can you build a steam room?
Will I have to use another bathroom during the build?
Service areas
We serve homeowners across these communities and the rest of greater Houston.
- The Woodlands, TX
- Magnolia, TX
- Spring, TX
- Conroe, TX
- Montgomery, TX
- Tomball, TX
- Cypress, TX
- Sugar Land, TX
- Pearland, TX
- Houston, TX
Schedule a free on-site visit.
We'll measure your bathroom, talk through what you actually want, and give you a written scope and real numbers.
Free in-home estimates in The Woodlands area. For projects outside that area, a travel fee applies.